
What's in my product photography kit bag?

Ever wondered what's in a product photographer’s kit bag?
Or more specifically in my camera bag? Here is some of my most used equipment used to capture beautiful images of handmade products! In this blog I share my ‘must haves’ and the products I love!
Yes it is entirely possible to spend a fortune (like literally thousands of pounds) on photography equipment. But let’s face it, most makers don’t have the budget for that. So I am going to share my favourite budget buys too so you can make your money go further.
So where to start?
1. A device to capture your images
First things first. You need a device to capture your images. Now, I will almost always recommend that if you are serious about capturing beautiful and high quality images of your handmade products that you need to invest in a DSLR camera. Your smartphone will work to a certain degree (and is fine for certain scenarios such as work in progress shots etc for Instagram) but to really capture the best shots possible at some point you will want to invest in a proper camera.
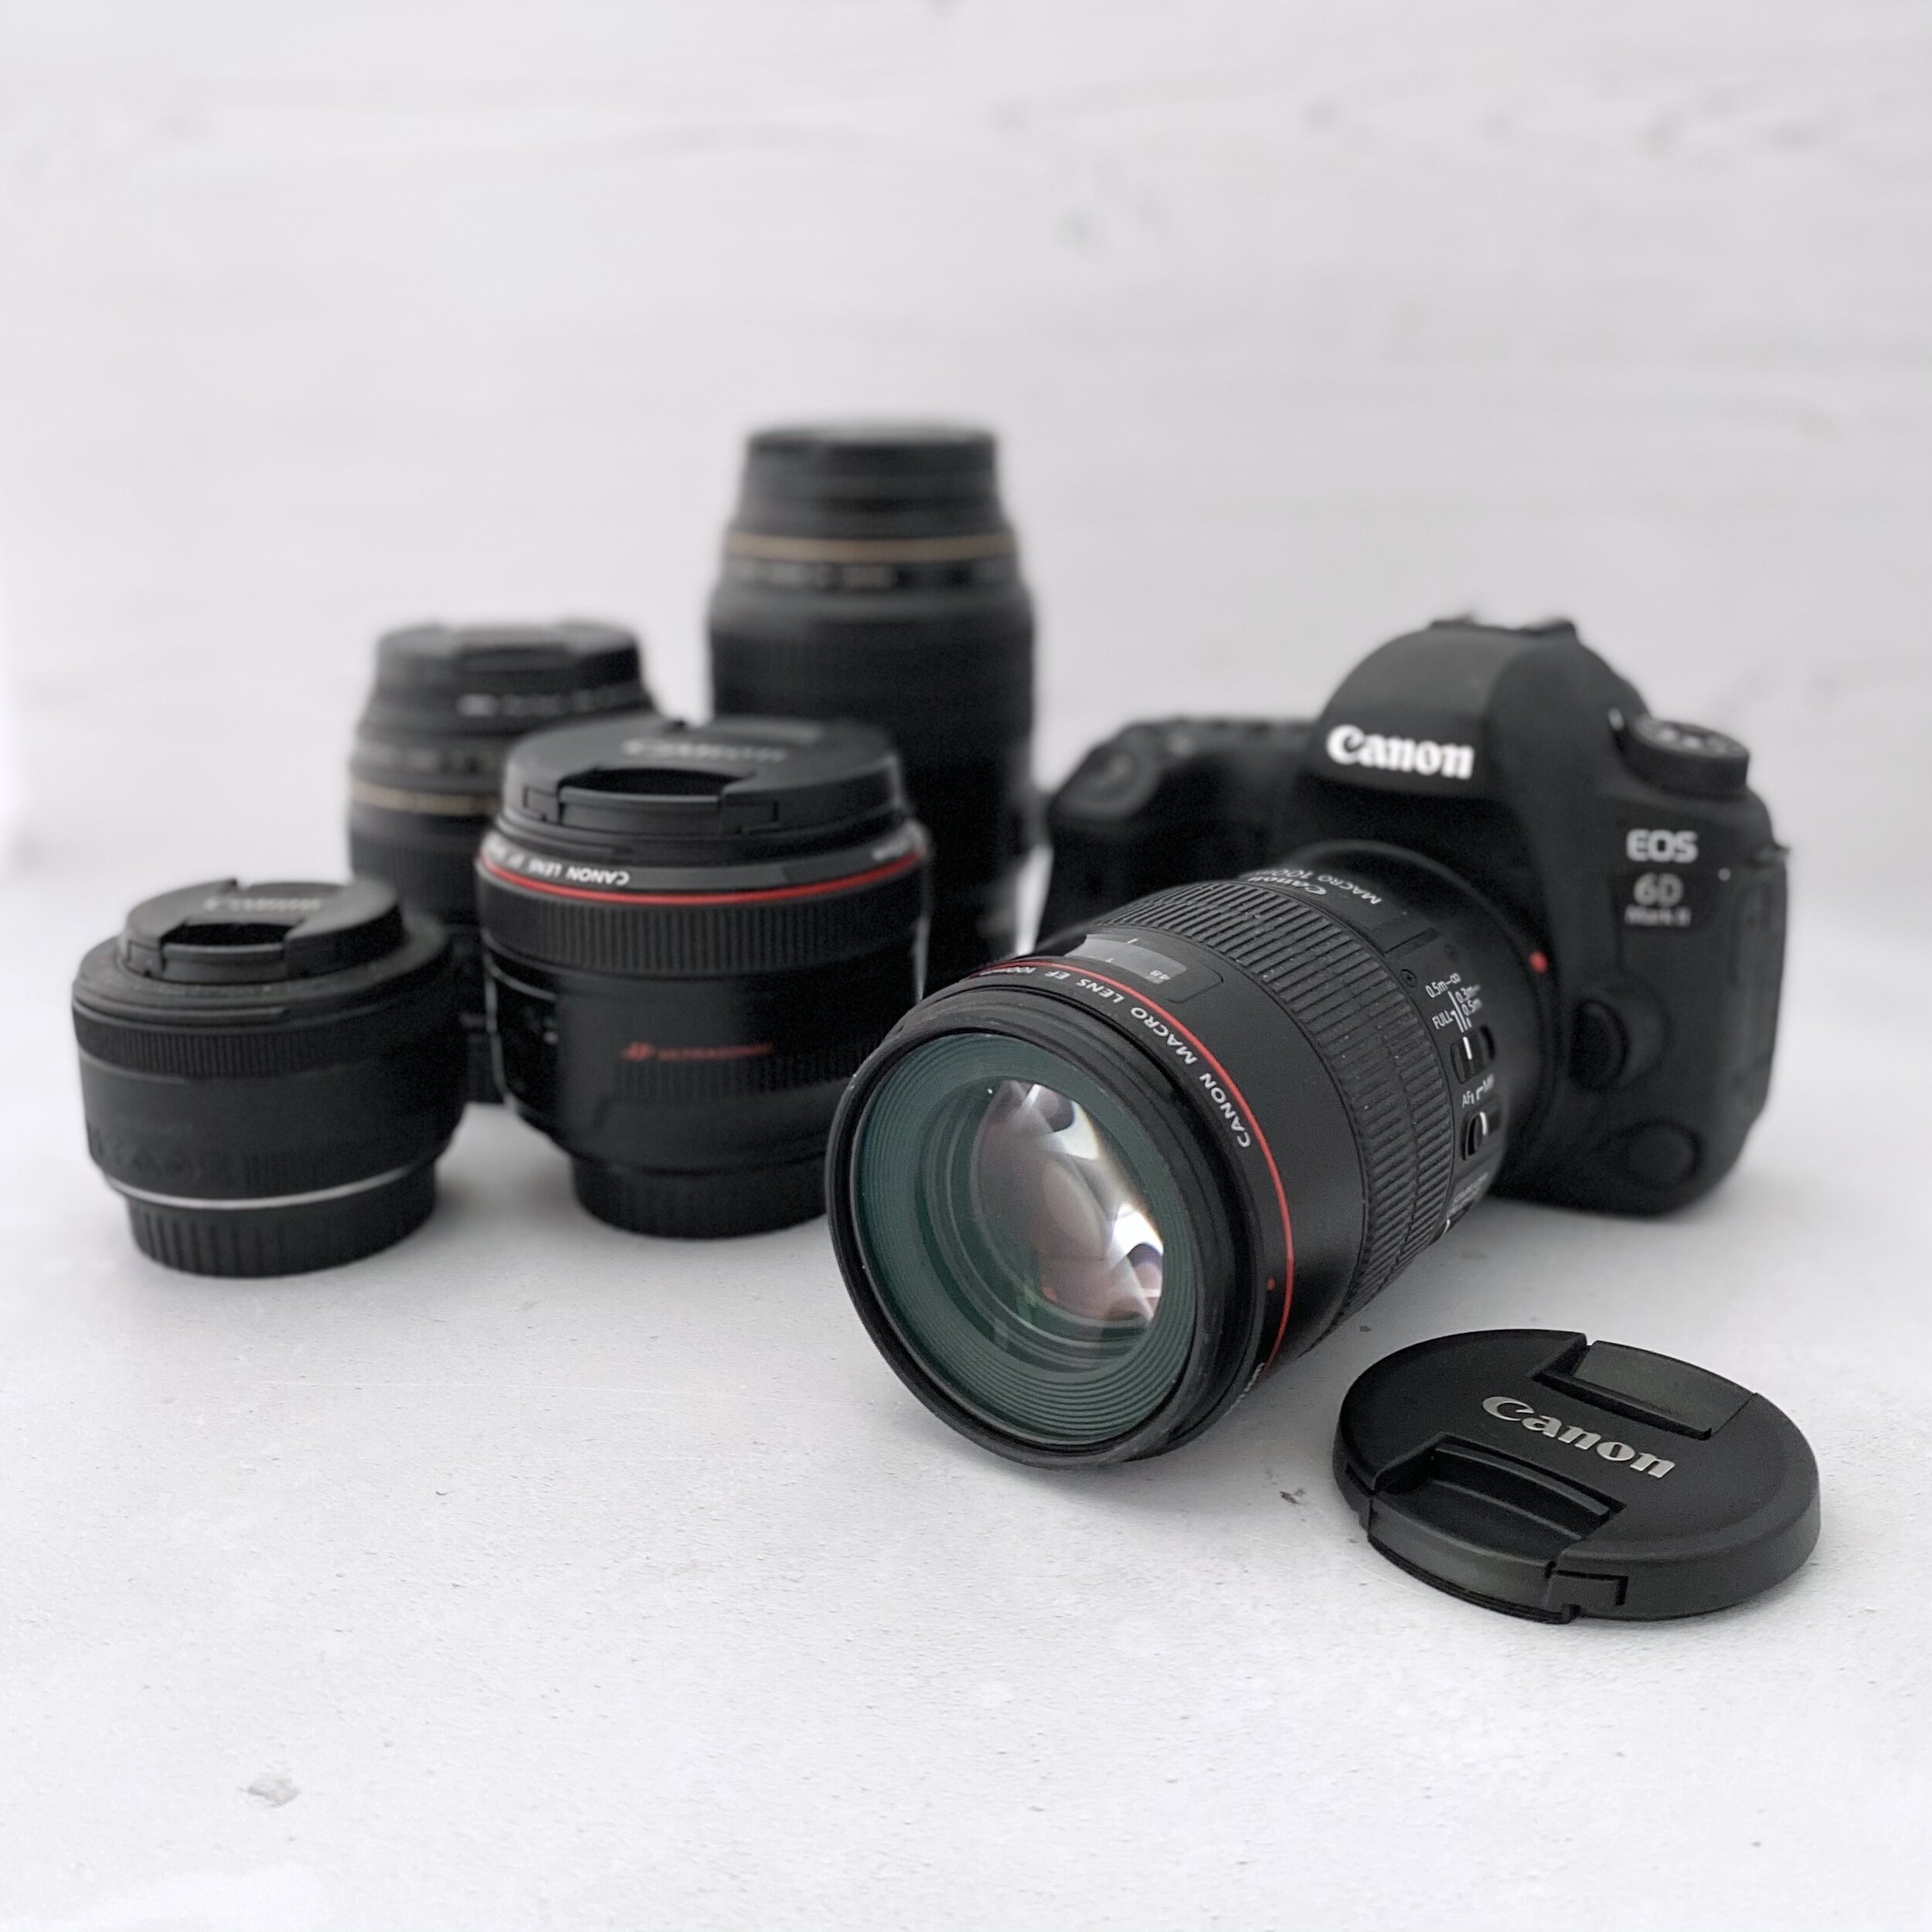
I am a Canon girl and I use a full frame camera (which basically means that you have a bigger, more powerful sensor that captures colour better). But for DIY product photography a good crop sensor 20 megapixel camera will do the job! You want to opt for a camera where you can control all the settings (Aperture, Shutterspeed, ISO) and focus manually and where you can change the lenses.
Most well known camera brands product high quality cameras - Nikon, Canon, Fujifilm, Olympus, Sony. It really is down to your personal preference, the lenses you prefer (as you will be locked into certain lens fittings depending on which company you buy from) and how easy you find the menus to navigate. I always suggest trying to visit a camera shop to have a look at a couple of different brands to see which one seems more intuitive to you to use.
Basic DSLRs start from about £300 and can go up to £4-5000 for top end models so you will need to set a budget for your camera body. I alway recommend buying the best you can afford as it will last your far longer before you need to upgrade. You can always look at the second hand for high quality, lightly used cameras. Places such as Wex, MPB, Park Cameras and Camera World have a good range of second hand camera equipment and they carefully check each camera and give you a good indication of the condition. Plus they usually offer a limited guarantee which you won’t get from the likes of eBay.
There are also newer mirrorless cameras on the market which are worth a look (but be careful as if you have lenses for a DSLR they may not work with a mirrorless camera or you may need to buy an adaptor).
My personal preference is to buy a camera with a flip screen which comes in very handy when shooting at odd angles.
2. Lenses
Lenses are truly where the magic happens. Beyond a certain level, camera bodies do much the same thing. But what can truly make a difference to your images is good quality lenses. More often that not, the lens that comes with your camera often know as a kit lens (usually an 18-55mm lens) is not going to be amazing.
I always buy a camera body only and then buy lenses separately.
My go to lenses for product photography are:
100mm Macro Lens - good for photographing small items close up (like jewellery). This is the lens I use most.
50mm Prime Lens - this is a fab lens for flatlays or larger products. Prime lenses don’t have a zoom function (you move your feet or tripod to focus), but because they don’t have as many moving parts tend to be a higher quality lens that a kit lens as all the money has gone into the glass. I have a professional (and very heavy) 50mm 1.2 lens. But for those starting out on Canon I recommend the ‘nifty fifty’ which is a lightweight 50mm 1.8 lens. This usually retails at about £110 and is a fab buy for the money.
85mm Lens. This is a great lens for shooting portraits and clothing.
24-70mm Lens. This is a great all rounder that works well for shooting people and products.
There are lots of different lenses for different purposes in photography, but these are the main ones I use day in and day out for product photography.
Lenses can be a hefty investment so I often recommend that students purchase a good quality second hand body and buy this lens when getting started. It won’t take shots as closeup as a macro lens but it is a much better option if you sell jewellery until you can afford a macro lens.
Again, the second hand market for lenses is very strong.
3. Reflectors/ diffusers of different sizes
So when students tell me they are struggling to get shots of their jewellery without horrible reflections the first thing I ask is ‘are you using a reflector’? Reflectors bounce the light source (natural daylight or studio lights) back on the item and reduce reflections, glare and unwanted shadows. It can take time to position the reflectors depending on what you are photographing but it is well worth the effort.

You can buy swanky, professional reflections, but to be honest foam board works just as well! Or card covered in gold or silver foil. You can prop them up with anything you have to hand or using photography clamps.
I do have a couple of these folding reflectors by Selens which are great though as they stand up all by themselves!
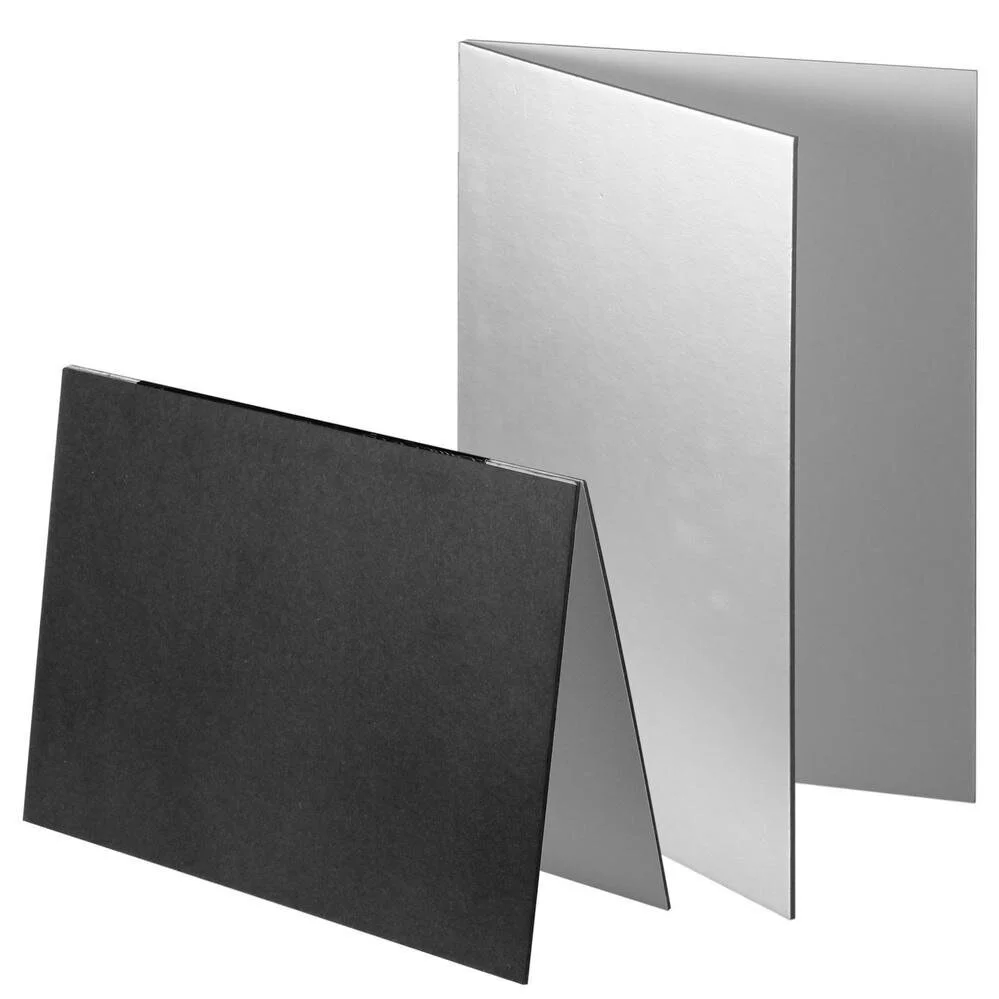
But you absolutely need to use reflectors to maximise the lighting of your products!
4. A tripod
With product photography I tend to shoot most of the time using a tripod. It literally gives me another pair of hands. Product photography is a slow process (and typically the product doesn’t move), so without going into detail about camera settings and shooting on manual, if I use a tripod I don’t need to worry about shutter speed. And that means I can maximise the light using ISO and Aperture.
It stops camera shake and leaves your hands free - every little helps in product photography!

I personally use the Vanguard Alta Pro2 but have also used the Manfrotto 55 which is great and both have a lever arm for taking flatlays. You can obviously spend a lot of money on tripods, but these are good mid priced options that will last you a long time.
But any tripod is better than nothing so buy the best you can afford - cheap travel tripods retail for £30 or so.
5. A light tent/ materials to diffuse or soften the light from your windows
Now, if you have a studio with no windows where you can completely control the light you won’t need one of these, but the chances are you are taking images in your house or studio where there are windows. On dreary winter days the light will be quite soft, but on brighter days you may find the light too harsh (unless you are wanting to capture dramatic shadows in which case bring on the harsh sunlight).
So in this instance I recommend either investing in a light tent (one without lights - I’ll explain why later!) or fabric or tracing paper to put up over your windows to diffuse the light.
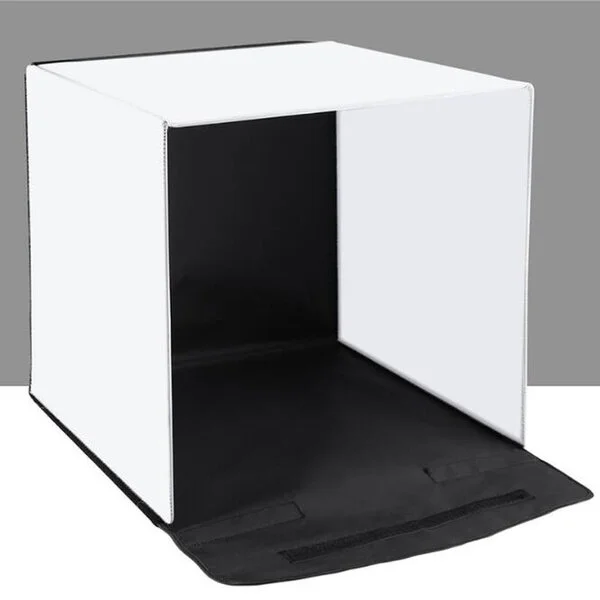
I have big skylights and bi-fold doors in my kitchen so when shooting at home (which I am mainly doing during lockdown), I tend to use this light tent which completely folds down but you can buy cheap pop up ones too. You can also build a quasi 3 sided light box using foam board (can you tell I love it?).
6. Lights
Now I could write a whole blog (possibly two) alone on lighting (and I may well do one day soon!). But essentially your options are:
Natural daylight - its free (bonus) but can be hard to control particularly in the dark winter months.
Continuous lights - continuous lights do what their name suggests - provide continuous lighting that only stops when you switch them off. Continuous light is a great way to add ‘extra light’ to your setup that will enable you to shoot as it gets dark. You have more control over the position and amount of light. Continuous lights are relatively affordable (you can buy a basic set for just over £100. I recommend at least 3 lights (one for each side and one for over the top) but forth hard light at the front can be helpful. You can buy big full size lights or little table top ones depending on how much space you have. I like the LED daylight bulbs as the standard daylight bulbs contain mercury which can cause harm if broken.
Studio (Strobe) lights. These are professional studio lights that product a large amount of light for a short period of time and are triggered by pressing the shutter button on your camera. These lights are a lot more expensive, and takes more time to learn to use. They are a fantastic light source but probably not a feasible option for most designers and makers.


Continuous Full Size Lights
But what about those cool light tends that have lights built in? I don’t recommend those as you don’t have much control in terms of positioning the light and how much light you can generate. I find that students quickly outgrow this light setup so recommend using natural daylight until you can buy tabletop or full size continuous lights.
7. Specialist Lights
I have a couple of extra specialist lights in my toolkit. These are very much nice to have, but are a fab addition if you shoot a lot of diamonds or gemstone jewellery as they make everything ‘pop’.
The first is the Diamond Dazzler bulb and the second is the Gemstone Sparkler bulb. Equally a harder light to the front of your pieces can sometimes give a sharper definition and make the scene ‘less soft’. You can get these lights (or even just the bulbs if you already have a spare light stand and fitting) from Tabletop Studios.
8. Backgrounds
Now if shooting products you will need one or more backgrounds. You can keep it really simple and shoot on A3 white (or coloured) paper, or you can invest in specialist photo backgrounds. It really depends on the look and feel your are trying to create with your brand.
Some of my favourite places for backdrops are:
For small products you can use small A3 size backdrops but for larger products you may need to go for larger backdrops suspended on a frame.
For smaller items you can also use things like flooring, platters, tiles and fabrics for backdrops. The sky really is the limit.
9. Prop Wax and Fishing Wire
Wanna know how to get things to stand in position or float in the air? The secret is prop wax (dental wax also works!) and clear fishing wire.
Now you can use white tack to prop up products, but for some small items this just isn’t sticky enough or will be quite visible in the shots. I find prop wax is much stickier for smaller items.
You can always edit out any of the wax or fishing wire that is visible in photoshop.
10. Lens filters
I typically use a UV filter on all my lenses (if nothing else they protect the lens if dropped - always worth spending £10 to protect a £500-2000 lens!), but sometimes I will use specialist filters like a polarising filter if photographing shiny things.
So those that the key things that I have in my kit bag and most of the time that’s all I use. ! I hope this has been helpful and will help you decide what equipment to invest in to take your DIY product photography to the next level!
And if you want help with your product photography I am currently offering Mentoring sessions for small businesses that can focus on visual styling and diy photography tuition over Zoom so do get in touch!
Happy shooting and until next time!