
My Top 6 tips for taking DIY Model Shots of your Handmade Products
Why Model Shots are so important for your Handmade product listings?
Without a doubt, juicy close-ups shots of your handmade products will whet a customer's appetite and grab their attention. But once you have done that, you need to help customers imagine or visualise your products in their lives to help clinch that all important sale.
The best way to help customers see or imagine themselves wearing your product is by having shots of your product on a model! Or if you don’t make products that can be worn, capturing images of them being held and used by a model does the same thing!
For items such as clothing, accessories and jewellery, model shots really help customer’s visualise themselves wearing the items in a way that no other image can!

Pendant by Karen Young Jewellery
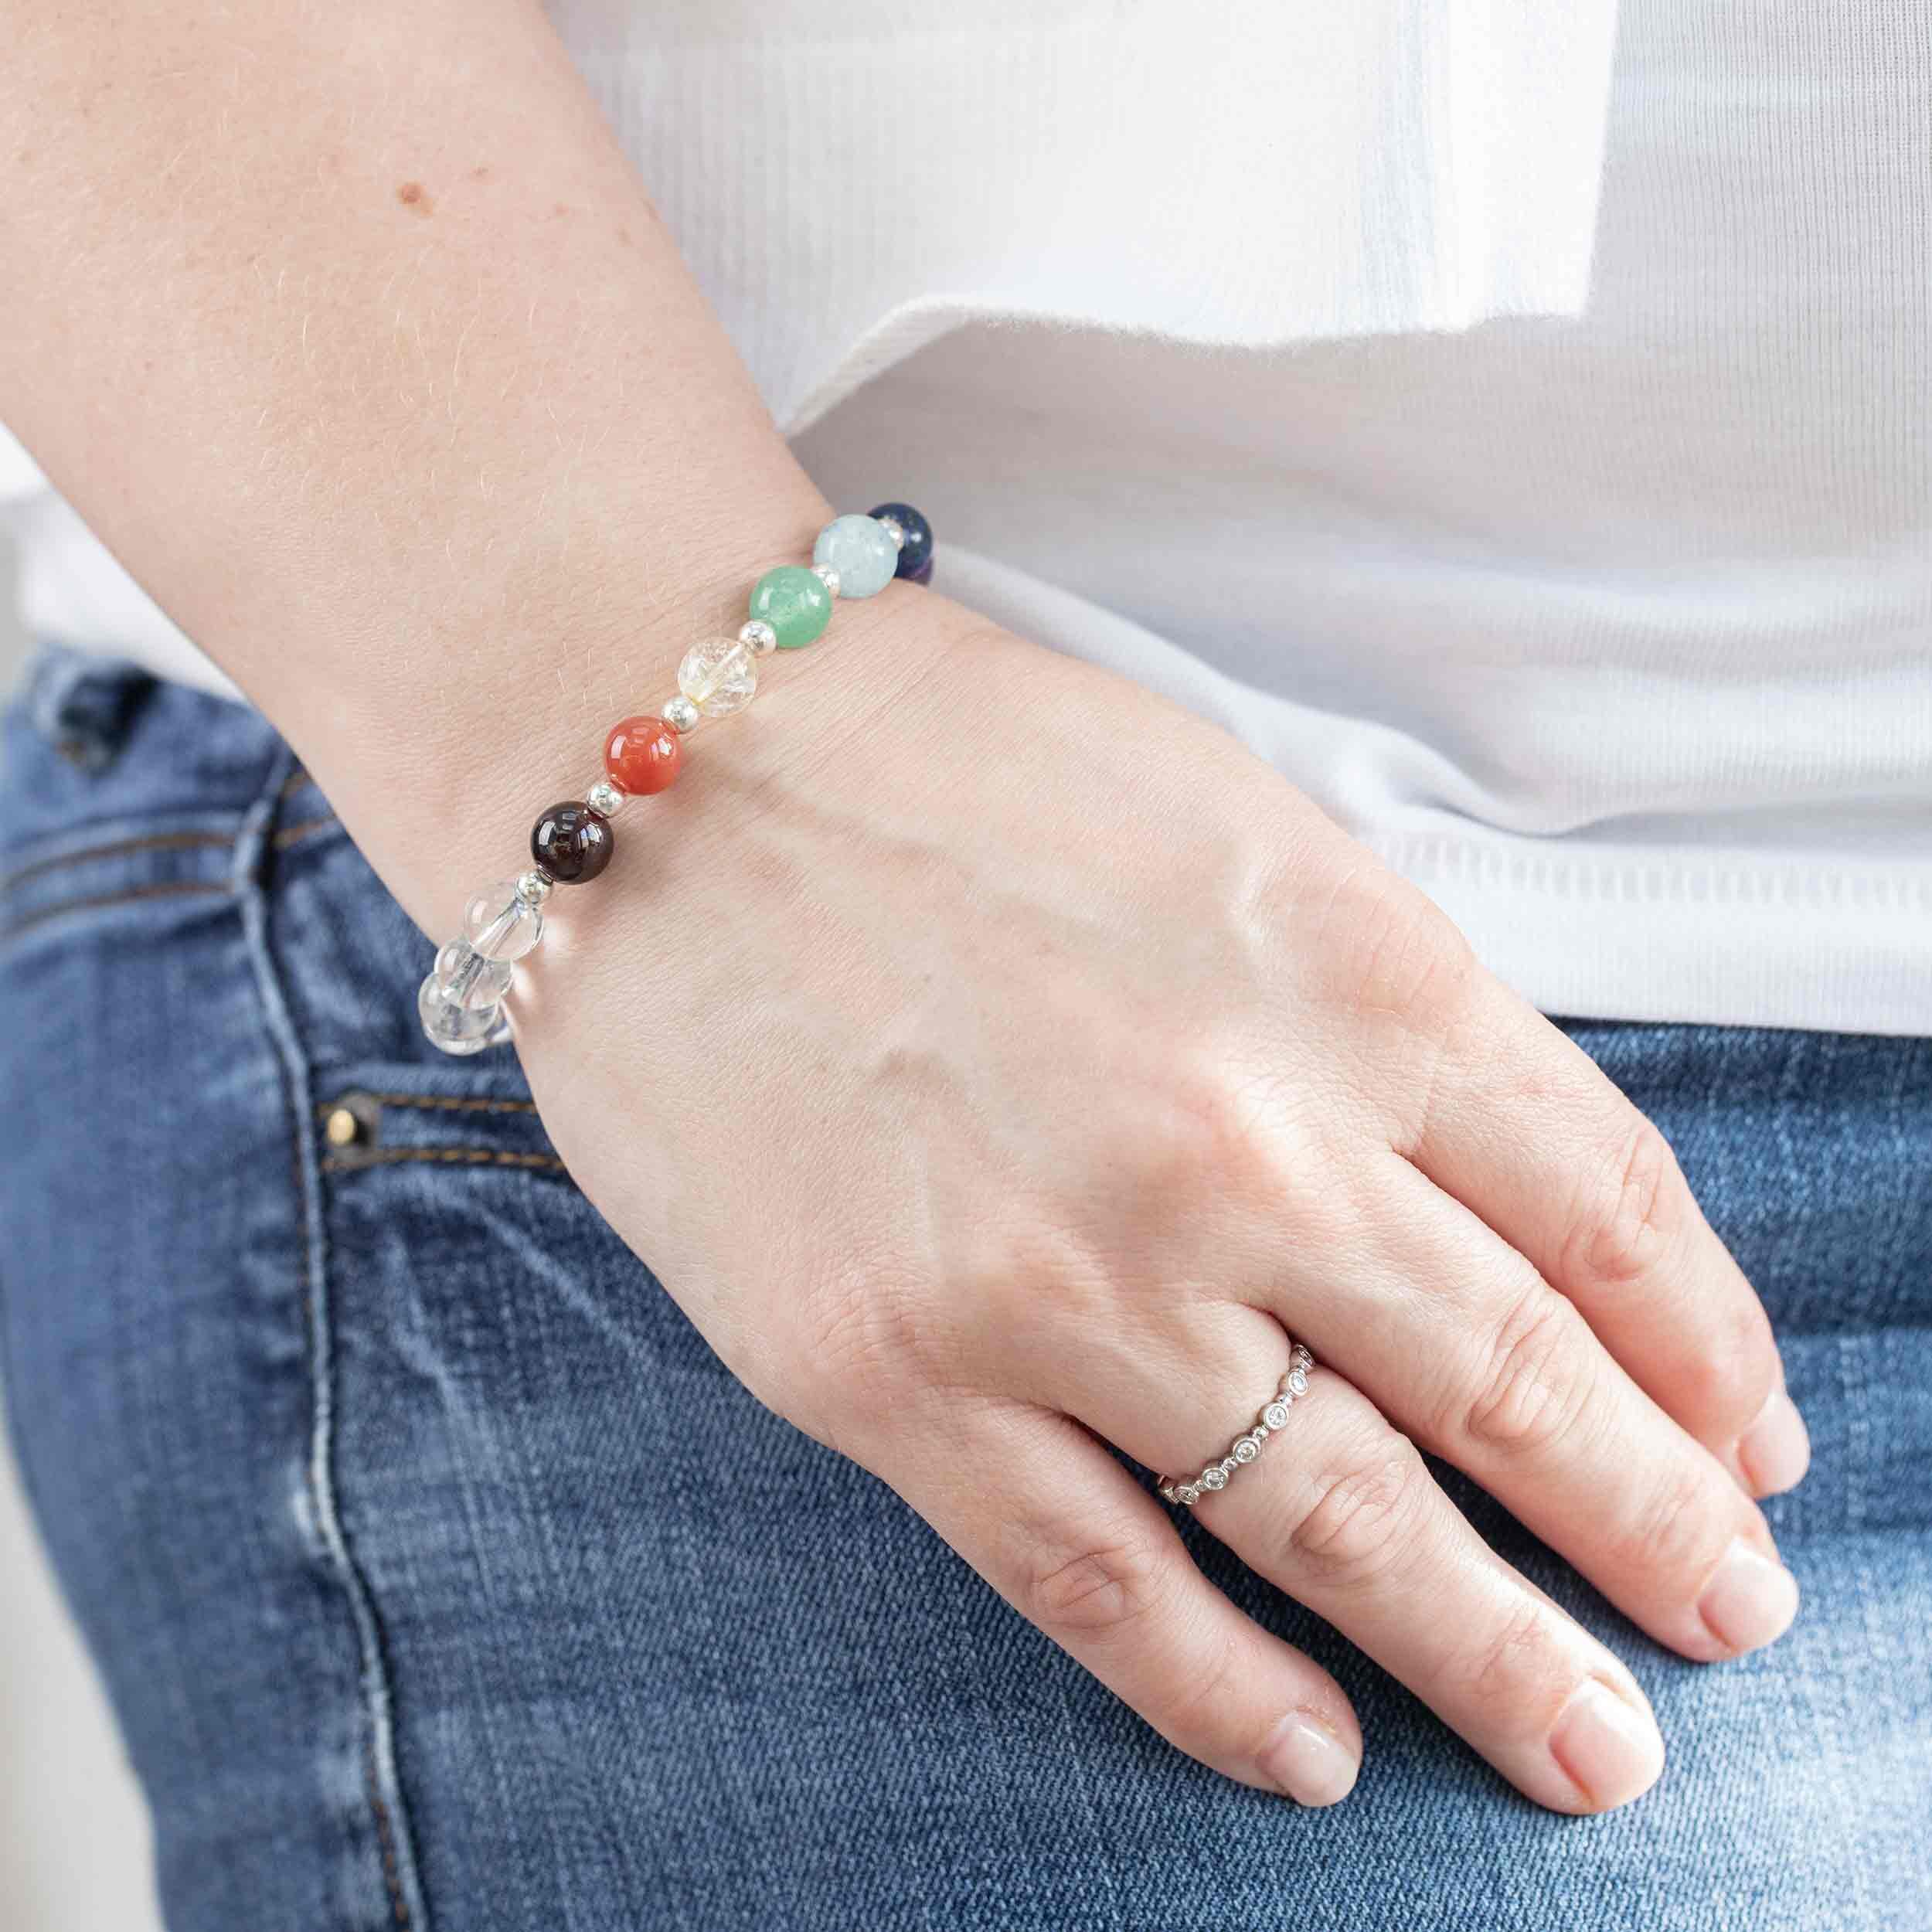
Gemstone bracelet by RockCircle Jewellery
What are the benefits of Model Shots of your Handmade Products?
1. Model shots show the scale or fit of an item
Jewellery, for example, can be very delicate (but can look enormous in closeups), and it can be hard for customers to gauge the scale of the jewellery in real life when it is being worn. Model shots show the scale beautifully so that customers are clearer on the size or fit of the items. Yes, you may have carefully written descriptions that include dimensions but let's face it - not every customer reads them in detail!
2. Customers can picture themselves wearing the item
Model shots speak to the hearts and minds of the customers and is a great way of helping them imagine what it would be like to wear the item and how it would feel to own what you are selling. Remember when selling online a customer cannot physically see the piece in person. They are reliant on your photos and your descriptions to understand what they are buying. Customers buying a product in person will usually pick it up, feel it, turn it around, hold it up to see what it looks like on before deciding to buy. You have to replicate that process for the customer.
3. They give a human touch to your products and bring them to life
Bringing a human touch into your product images really taps into the hearts and minds of your customers and takes them off the page or website and makes them seem ‘more real’ and ‘lifelike.
4. It is a great way of showing multiple items from collections in a single shot
And of course, if you have multiple items in a collection it is a lovely way to show them all off to try and encourage upselling.

And for products that aren't worn, then you perhaps want to think about model shots that demonstrate the product being used, hands holding the product.
Types of Model Shots
There are different types of model shots:
Neck Shots
Hand Shots (close up)
Ear Shots (close up)
Full Length Shots
Hero Model Shots (more of the model visible - aimed at depicting lifestyle of ideal client)
Depending on your product range, you might want a variety of these shots for your brand.

Gemstone earrings by Wisefig Jewellery

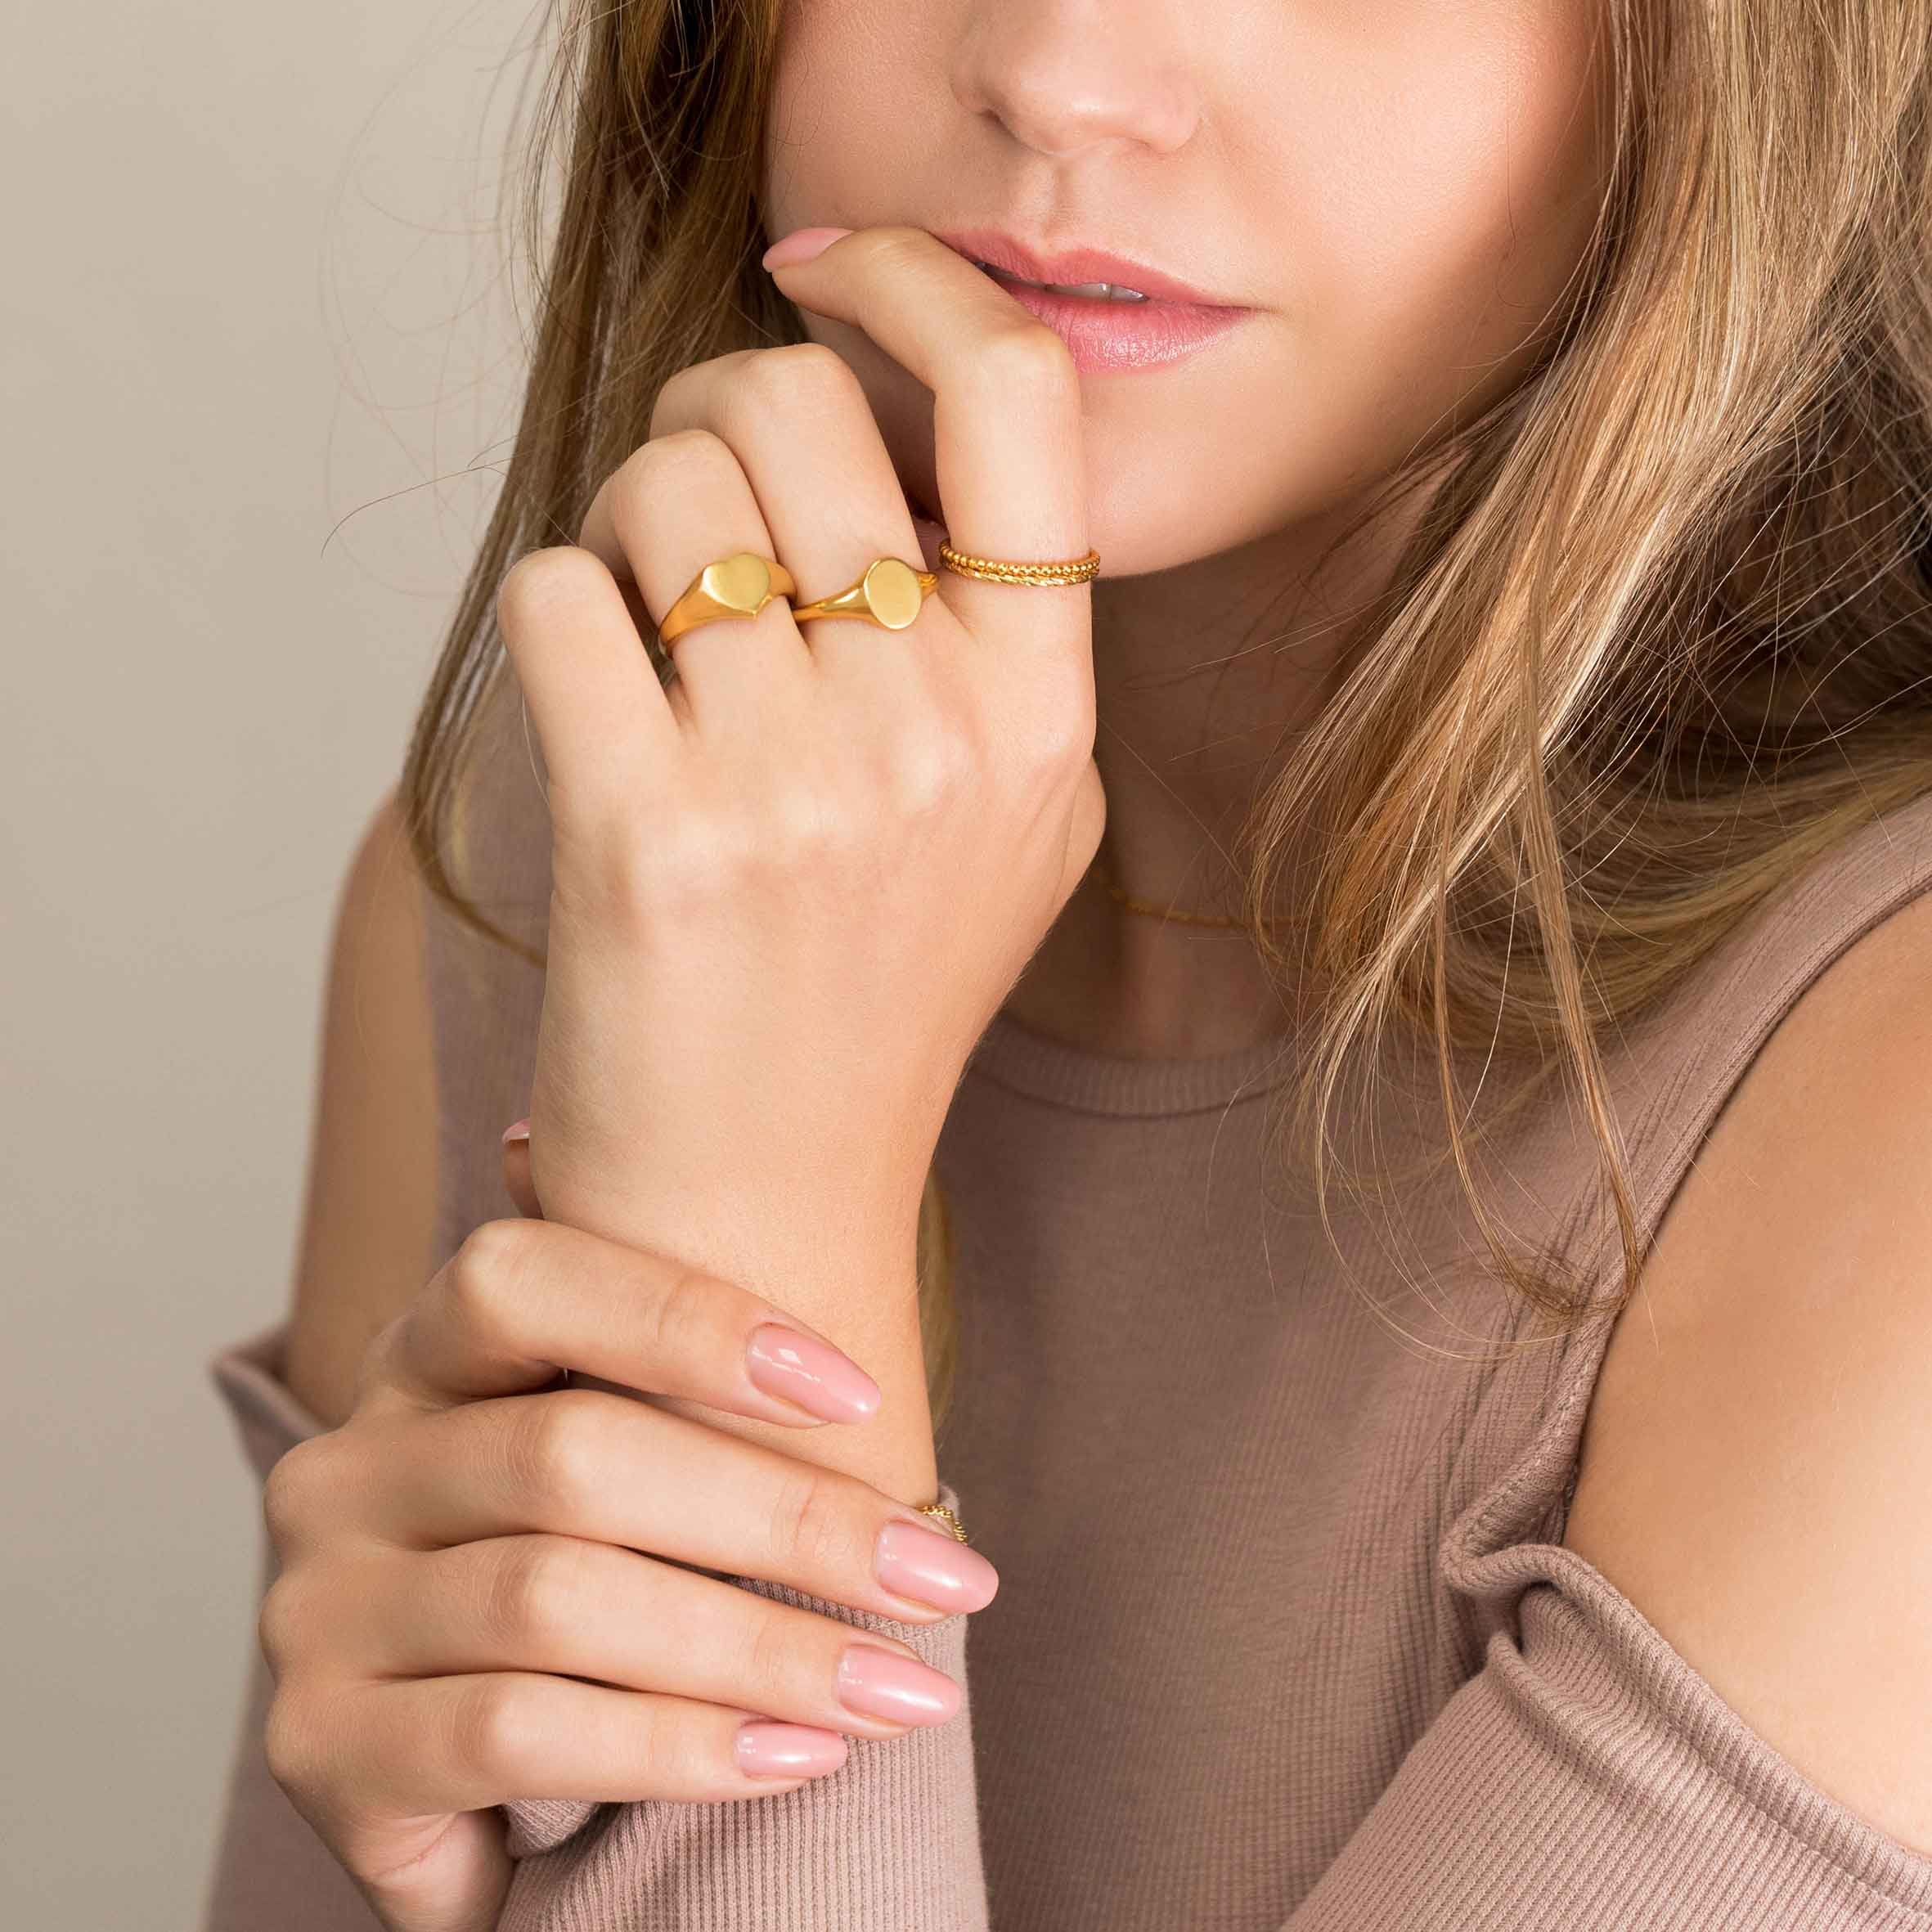
Gold and Diamond Scatter Band by Charlotte Berry Jewellery

Silver Bracelet for Sarah Ruth Stanford
Hero Shot for Becky’s Boutique

Hero Model Shot for Becky’s Boutique

Silver Chain Necklace by Sarah Ruth Stanford

Handmade silver earrings by Sarah Ruth Stanford
Getting professional model shots taken of your products
Now the ideal way of getting Model shots of your handmade designs is to use a professional photographer and a model. Models know how to pose and show off your products at their best, and a professional photographer will have the skills, knowledge and equipment to capture your products beautifully.
However, model shots are often a little bit more expensive than standard product photography as there are typically extra costs involved including the model’s fee, clothes and other accessories that fit with your brand, hair and makeup to get the right look, and potentially venue fees depending on where the shoot takes place.
So it might not be an option for everyone to get professional model shots taken right now, particularly when you are just starting out.
How to take DIY Model Shots of your handmade products
The good news, is that it is entirely possible to shoot gorgeous shots of your products using yourself as the model until you are in a position to get professional model shots taken. And the best bit is that you just need a few basic pieces of equipment to DIY your model shots.
My top tips for taking your own model shots of your handmade products are:
1. Shoot using a TRIPOD
When using yourself as a model (or even just your hands), you need to be able to shoot ‘hands-free’. The easiest way to do this is by putting your smartphone or camera on a tripod. It literally gives you an extra pair of hands.
I love my Vanguard Alta Pro2, but the Manfrotto 55 is a great tripod and neither cost the earth. But to be honest, any tripod is better than nothing - even a cheap travel one!


Smartphone clamp for a tripod by Manfrotto
And if you take your photos using a smartphone, you can buy a little smartphone clamp to fit to any tripod that will hold your phone securely.
2. Use a timer, remote control or shoot tethered to your laptop
The trickiest part of using yourself as a model is that you need to press the camera shutter and give yourself enough time to get into the right position before the shot is taken.
Now most photographers will shoot with their camera tethered (connected via wifi or cable) to their nearby laptop. They can then control the camera from their laptop. But tethering software can be expensive and takes time to learn how to use so isn’t always a practical option for designers and makers taking shots themselves.
The next best thing is to buy a remote for your camera or device or use the in-built timer.

Most DSLR cameras offer the option of a 2 second or 10 second timer. And if you use a dedicated Camera app on your smartphone then most of those give you the option to set a timer. So just pop the camera on the tripod, focus on the subject and set the timer so you can get into position. Easy Peasy!
3. Position your device (camera or smartphone) so you can see the screen in live view
But how can you focus on the item, when you are away from the setting to set the focus and press the shutter button!?

Canon 6D Mark II with a flip screen for live view
The easiest way is to position your device so you can see the screen. So use the reverse camera on your smartphone or use a camera that has a flip screen so you can see what you are shooting. That means you can see what is being captured. When used in combination with a timer, you can get the focus right and you have a few seconds to get in the desired position.
4. Connect your camera to your smartphone so you can control your camera from afar
But this is still not ideal if you want to position your camera or device further away to get in more of the background. This is where you want to perhaps use a remote control that you connect via Bluetooth to your device, or if you shoot with a DSLR, most of the large brands now offer a mobile app.
I often use the mobile Canon app on my smartphone, which once connected via WIFI or Bluetooth to my DSLR means I can not only control the camera settings from my phone (Aperture, Shutter Speed and ISO) but I can also be sat in position with my phone within arms length (but out of shot). I simply set the timer to 10 seconds, touch the screen of the smartphone to focus on the jewellery and then shoot away.
5. Shoot continuously so you can choose the best shot
With standard product photography where I can take my time and nothing moves I take single shots. But when shooting on a model I always shoot in continuous mode meaning that the camera will capture multiple shots whilst the shutter button is pressed. This means that you capture multiple shots at once so you can choose the best shot at the editing stage.
6. Make sure your Shutter Speed is above 200 so you don’t get blurry images
Now because models (including yourself) need to breath and move about slightly, you want to set your camera to a higher shutter speed - I recommend over 200 but often go for above 1/300 for the best results. You may need to adjust your aperture and ISO accordingly.
7. Use the best light source possible!
With all kinds of product photography you will get the best results when you use the best light source possible.
If using natural light, shoot outside or next to a bright window. Use reflectors positioned out of sight if you need to bounce light back onto the model.
Or consider investing in a continuous light or two. They aren’t expensive (approx £100) but they can be big and bulky to store. But are very handy if you plan on doing a lot of your own product photography. You can get little table top ones too if space is limited.
But what if I don’t sell something that can be worn by a model?
Even if you make items that can’t be worn, you can use models in your photography to show how your products can be used by customers. These tips in this blog therefore apply if you want to capture shots of your products being used by you or a model. Even getting hands in your shots can bring your products to life!

Artisan Tea by Ellie & Bros
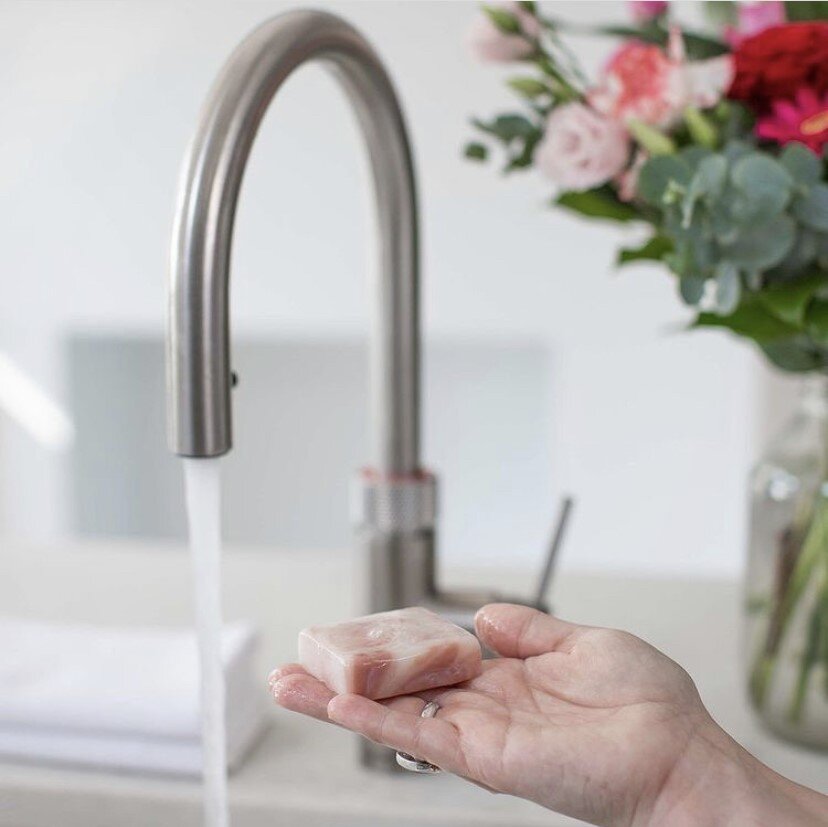
Handmade Washbar by Conchus
And finally…
So I hope I have convinced you to start capturing DIY model shots of your handmade products for your product listings and to help tell your brand story on social media. It really does tell help sell your products and bring them to life for your customers.
And hopefully you see that it is possible to use yourself as a model with minimal equipment and a little patience and practice.
And if you do feel that now is the time to invest in model photography for your brand, I now offer model shoots from my London studio with a variety of options to work within your budget including shooting the items on you or a family member or friend, all the way to sourcing a professional model and hair and makeup artist. You can learn more about my model shoots below:
Happy Shooting! And until next time!