
My top 5 tips for styling engaging flatlays
DIY photography can seem overwhelming and can put you in that ‘all the gear and no idea’ frame of mind. Whilst photography definitely takes time and perseverance to get those perfect shots, you can actually do a lot of the work before you even pick up your camera. Even if you’re happy with your photography skills, flatlays can be tricky for anyone. This is because most of the work comes from the styling aspect. In this blog post, we’ll look at my top 5 tips for styling engaging flatlays as well as some of the quick-fire questions that I get asked the most when it comes to flatlays!
Have a plan for the shoot
You’ll probably know what products you want to shoot but have you thought about your set-up? You can just play around on the day of course but it’s best to get some prep work done beforehand.
What is the purpose of the shoot? Do you need images of specific products? Is it an entire collection you’re shooting, new products for your range or just a refresher of current products?
Think about shots you’ll take, how many images you need of each product, how long realistically you have to spend on the shoot, what you’ll need in terms of backgrounds and props and come up with a colour scheme too. Jot as many notes down as possible and create a list of items you’ll need to gather before the day arrives.
I also recommend booking a date in your calendar for the shoot. It’s so much easier to plan it all out if you know when you’ll be shooting and how much time you’ll have.
2. Create your set-up
Gather everything you’ll need for the shoot, from camera equipment to backgrounds and props. The list you made in advance should make this step a lot easier!
Now you’ve grabbed everything you need, it’s time to get set up. Get your background propped up, your equipment at the ready and have an order for your products. Personally, I like to shoot with one background for as many shots as possible and add in/take out props as I go. You can have the same set-up for multiple products so your collection images don’t seem completely random as a set and keeps your product range looking cohesive.

3. Take a mixture of shots
Add in props, take some out of the frame and shoot from above as well as other angles too. If you’ve spent the time to research, plan and set the shoot up, you might as well make the most of it!
Make use of your space, move around as best you can and spend as much time as you can getting those shots. After all, you can always cull the images afterwards if they’re not suitable but it’s much more of a hassle to redo the shoot!
4. Experiment with props
You might start off with a simple set-up with just the product and your background. This set-up is perfect for clean product photography but can seem dull when included in your marketing. By adding in props, you can create lifestyle shots that are more aesthetically pleasing to your customers.
Just remember that your products are at the forefront so don’t make the shots too crowded that you can’t pick out the products themselves! Experiment by adding in props as well as taking them out of shot! Make sure they all fit within your colour theme too to keep the collection looking together throughout.
5. Create a photography kit
You’ll find throughout the shoot that you need extra tools despite making a list pre-shoot. Blue tac, double-sided tape, a pencil to mark on your background and dry cloths are just some of the ‘everyday’ items you forget you might need on the day! If you’ll be shooting often, think about setting up your own photography toolkit with these forgotten items so you have them altogether next time!
Quick-fire questions
What is a flat-lay?
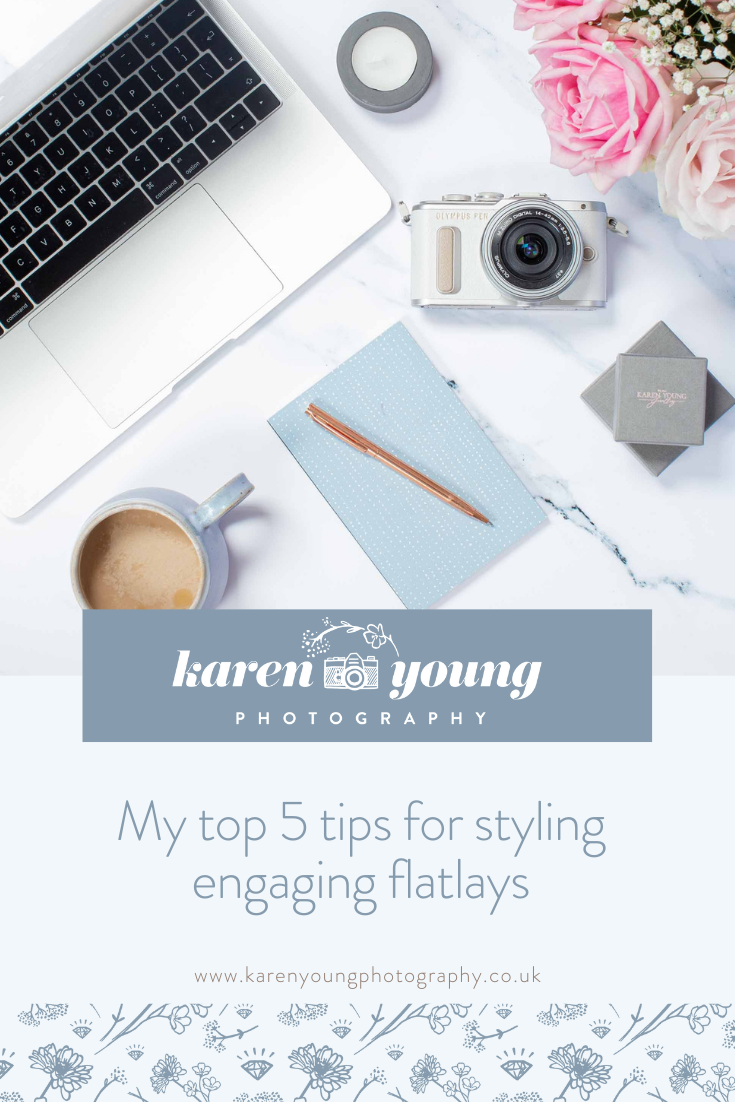
A flat-lay is a photo taken from straight above (i.e. bird’s eye view), avoiding the depth of field. To make the image more interesting, props are used to produce lifestyle shots for the business’ marketing whilst still displaying the products. They’re a more subtle approach to regular product photography with a white background, making them perfect to add to your social media and website on pages other than sales pages.
Where do you get your props and backgrounds from?
You can actually shop your own house for lots of useful props. For flatlays, trinkets and storage, books, flowers, fabric, paper and ribbons can be used as well as so much more. Grab items that fit into your colour scheme and theme of the shoot before purchasing new props.

For backgrounds, you can use wallpaper samples, your flooring or bedding if you’re on a tight budget. Look on Etsy for cheap backgrounds if you know you’ll make use of a purchase.
What kind of shots can I take?
An alternative angle for close up shots of products: you’ll be able to see the finer details and draw people’s attention to them
Group shots of multiple products: perfect if you’ve got a collection or range that compliments each other in style and colour
Pretty packaging: people shop from small businesses for that extra touch so having pretty packaging can definitely increase sales! Why not show it off so customers know what to expect?
Business stationery: whether it’s new business cards or gift vouchers for sale, show off your branding to your customers.
Lifestyle shots: Especially on social media, you need to find the fine line between promoting your products and aesthetically pleasing images. You’re still promoting your products but in a more subtle way.
Behind-the-scenes: You can show your customer the shots of you actually making your products or packaging them up. It’s perfect for those who are camera shy and adds a different style of image to your marketing too.
What equipment do I need?
A camera/lens or smartphone
A tripod
A reflector
A backdrop
Props for your chosen set-up
A step or ladder if you’re short!
If styling a shoot is something that completely boggles your mind, I’m still taking booking for 2021 for my styling consultations. It can help ease your mind so you can go into your DIY shoot with a comprehensive plan. Click here to contact me and set up a date!